The Colour Selector dialog allows you to select a colour to be applied to a control, document, or anything that can have a colour. In Pipeline Runner Studio the usual way to access the dialog would be by clicking any of the buttons beside a colour option control, like this one:
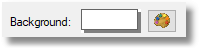
Colour Option control
If you click the button beside the control, the selector dialog will be displayed with three tabs at the top: Custom, Web, and System.
System
The System tab lists the names of all system defined colours. These colors will vary depending on the theme you have chosen to use for your machine, and will be displayed accordingly. Each one is named after a part of a system, so for example if you select ButtonFace it will assign the current system color for the face of buttons:
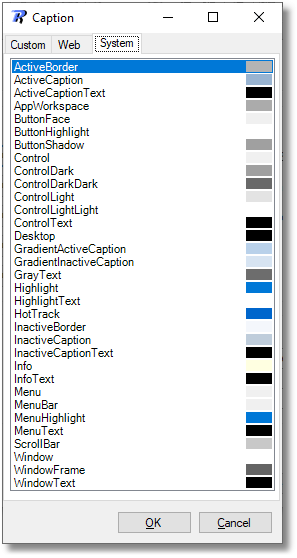
The Colour Selector dialog showing the System tab
To select a System colour, simply click on the preferred colour in the list and click the OK button to close the dialog and assign it as the preferred colour.
Web
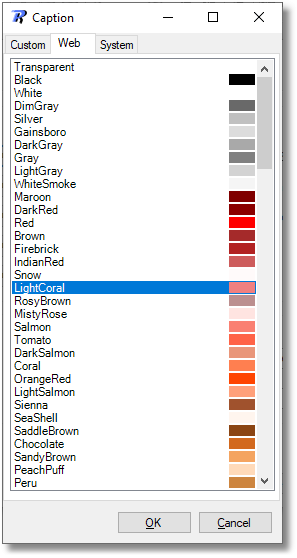
The Web tab lists the names of all system defined Known Colours. These have names to match the colours and are listed based on the properties of the color like Hue, starting with Transparent and going all the way up to Light Pink, and will be displayed accordingly. Each one is named after a part of a system, so for example if you select ButtonFace it will assign the system color for the face of buttons:
The Colour Selector dialog showing the System tab
To select a Web colour, simply click on the preferred colour in the list and click the OK button to to close the dialog and assign it as the preferred colour.
Custom
If you would like a colour other than those in the System and Web categories you can do so using the Custom tab:
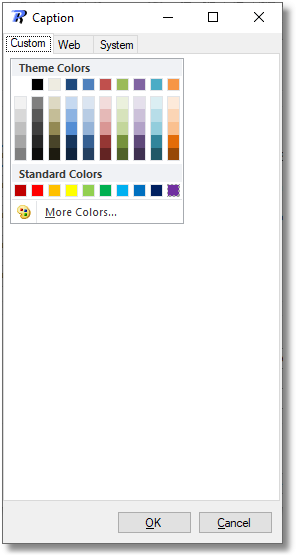
The Colour Selector dialog showing the Custom tab
Initially a set of Theme colours are displayed. To select one of these simply click on the preferred colour and then click the OK button to close the dialog and assign it as the preferred colour.
If none of this gives you enough control, you can define your own custom colours. To do this, click the More Colours button at the foot of the Theme colours control. A dialog will be displayed to give you the additional functionality:
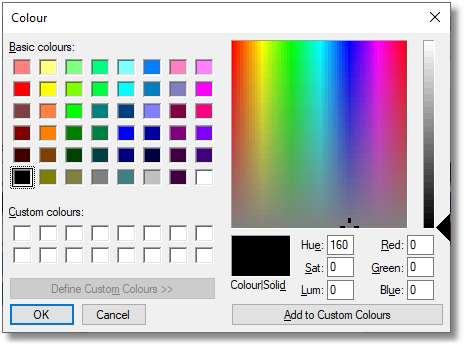
The Colour Selector Custom Colours dialog activated
You can use the slider and the crosshairs in the display to define a custom colour, or you can type in values in the boxes to set the colour you require. Once you click Add to Custom Colours button to add the colour to the dialog, and then click the colour and then the OK button to close the dialog and assign your new custom colour as the preferred colour.
See Also: Options Dialog Open File Dialog Folder Browser Dialog Save As Dialog